
How to Replace Brake Pads on Goldwing Trike Honda- Replacing the brake pads on a Honda Goldwing trike involves a few steps, but with the right tools and care, it’s a task you can do yourself. Here’s a step-by-step guide:
How to Replace Brake Pads on Goldwing Trike Honda – Tools and Materials Needed:
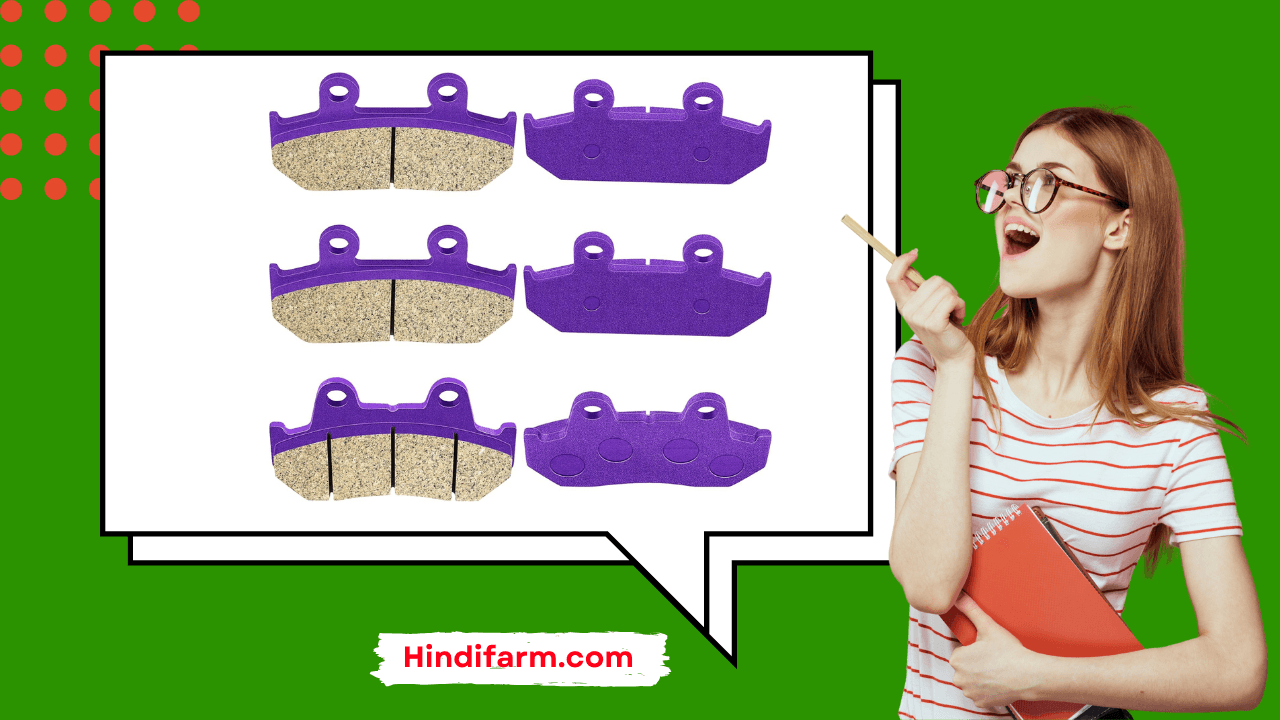
- New brake pads (ensure they’re compatible with your Goldwing trike model).
- Socket wrench set.
- Torque wrench.
- Screwdrivers (flathead and Phillips).
- Brake cleaner spray.
- C-clamp or brake piston tool.
- Gloves and safety goggles.
- Jack and stands (for stability).
- Rag or towel.

Steps to Replace the Brake Pads:
1. Prepare Your Workspace
- Park the trike on a flat surface.
- Use the jack and stands to lift the trike, ensuring the wheel you’re working on is off the ground.
- Secure the trike to prevent it from moving.
2. Remove the Wheel (If Necessary)
- For some models, removing the wheel might make the process easier. Check your owner’s manual to see if this step is required for your Goldwing trike.
3. Locate the Brake Caliper
- Identify the brake caliper on the wheel where you want to replace the pads.
- Inspect the caliper for any damage or excessive wear.
4. Remove the Caliper
- Use the socket wrench to remove the bolts holding the caliper in place.
- Carefully slide the caliper off the brake rotor without twisting the brake line.
5. Remove the Old Brake Pads
- Take out the retaining pins or clips holding the pads in place.
- Slide out the old brake pads. Take note of how they were positioned.
6. Inspect and Clean
- Inspect the rotor for wear or damage.
- Use the brake cleaner spray to clean the caliper and rotor.
- Avoid getting cleaner on the brake lines or painted surfaces.
7. Compress the Brake Piston
- Use a C-clamp or brake piston tool to gently push the caliper piston back into the housing.
- This creates space for the new, thicker brake pads.
8. Install the New Brake Pads
- Place the new pads in the same position as the old ones.
- Ensure they are seated correctly in the caliper.
9. Reattach the Caliper
- Slide the caliper back over the rotor and secure it with the bolts you removed.
- Tighten the bolts to the specified torque (check the owner’s manual for the correct settings).
10. Reinstall the Wheel (If Removed)
- Mount the wheel back onto the trike, ensuring it’s secure and properly aligned.
11. Test the Brakes
- Before riding, pump the brake lever or pedal a few times to ensure the pads are seated and the brake piston is engaged.
- Spin the wheel to check for smooth rotation and ensure the brakes work properly.
12. Final Inspection
- Double-check all bolts and components to ensure everything is secure.
- Lower the trike and test ride at a slow speed in a safe area.
Additional Tips:
- Always replace brake pads in pairs (front or rear) to ensure even braking.
- If the brake fluid level is low, top it up after replacing the pads.
- Consult the service manual for torque specifications and other model-specific details.
Also Read- How to Grow Apple Trees in Zone B
Also Read- How Many Seed Leaves Does a Snake Plant Have
Also Read- How to Care for Money Plant | Grow Your Money Plant


